In this article, I am writing the step by step instruction on creating your first Twitter Bootstrap with ASP.NET MVC 4 web application. I will guide you through and create Responsive Web Design using Bootstrap.
This time, I am not using any bootstrap packages from NuGet. Instead, I will be using the Bootstrap source file directly from the bootstrap website.
If you want to use the bootstrap through NuGet, then read my other articles:
- Twitter Bootstrap with ASP.NET MVC 4.
- Twitter Bootstrap with ASP.NET.
- Twitter Bootstrap Packages for Visual Studio.
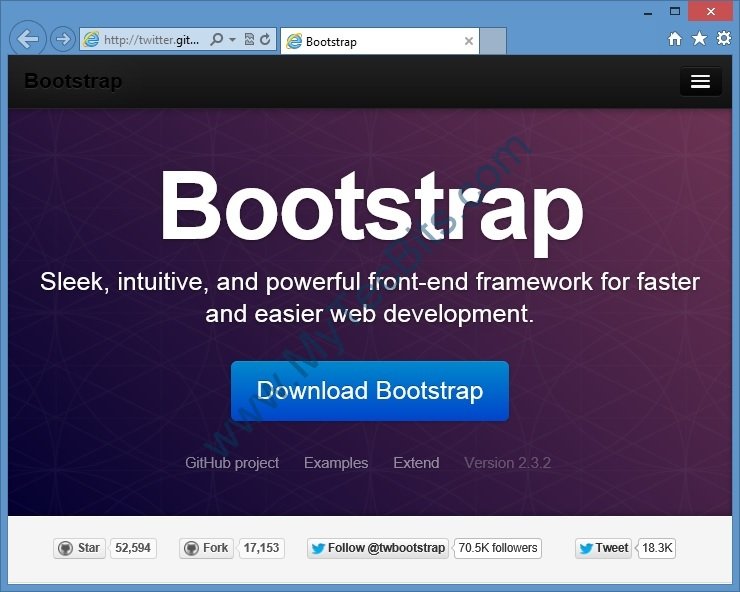
For this article, I am using Visual Studio Web Express 2012 and Twitter Bootstrap from http://twitter.github.io/bootstrap/.
For your convenience, the sample source code for the files I’ve modified and created in MVC project (_Layout.cshtml, Index.cshtml and HomeContainer.cs) are available in the articleBootstrap with ASP.NET MVC 4 – Sample Source Code.
Steps to create your first Bootstrap with ASP.NET MVC 4 Website:
- Go to http://twitter.github.io/bootstrap/ and download the bootstrap files.
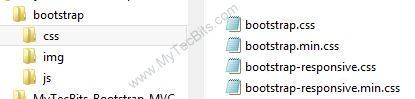
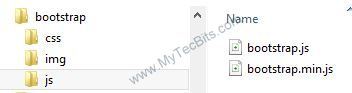
- Extract the downloaded Bootstrap.zip file. You can see three folders (css, img and js). Inside the css folder there will be four css files. 2 of them are normal style sheet files, and the remaining 2 are minimized files. In the img folder, there will be two png image files. In the js folder there will be two java script files. One of them is a minimized file.
- Now Launch Visual Studio.
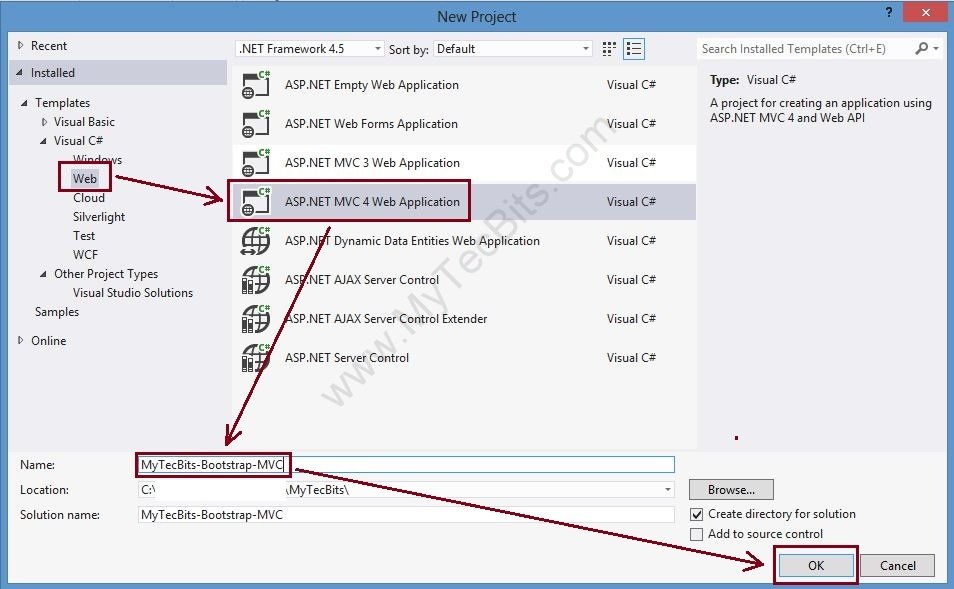
- Go to File menu and select New Project...
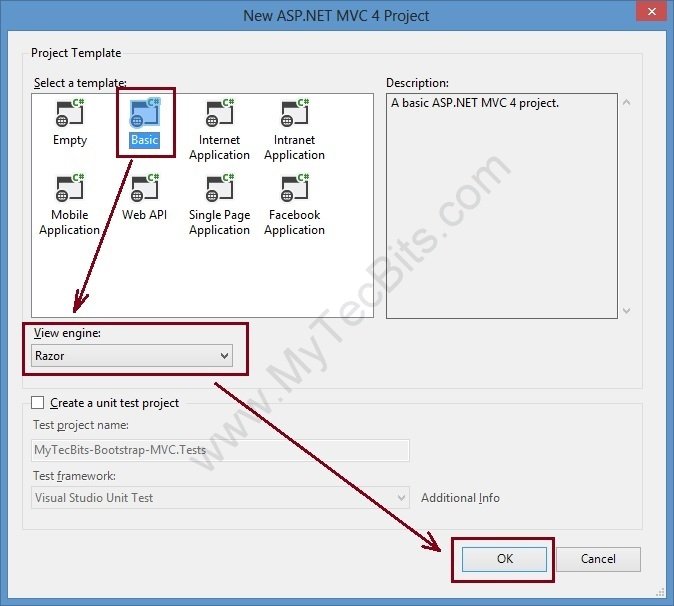
- Create a new ASP.NET MVC 4 Web Application project.
- Select the Basic Template and Razor Engine.
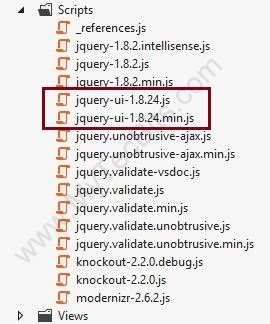
- Go to Solution Explorer in Visual Studio. You can see two jQueriy-ui files. Just removethe two jQuery-ui files. (JQuery-UI is another User Interface Framework. As you are using bootstrap in this project, you won’t need jQuery-UI.)
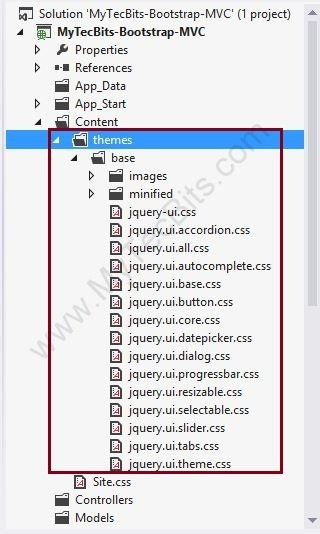
- Remove the themes folder within the Content folder. (The themes folder has jQuery-UI css files and images. You don’t need them for this project.)
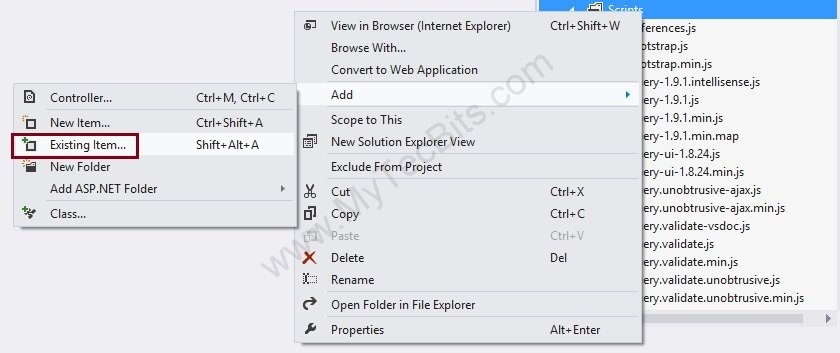
- Right-click the Scripts folder and add the two bootstrap java script (.js) files, which we have downloaded earlier.
- Likewise, add the four bootstrap CSS files within the Content folder.
- Add a new folder under the Content folder. Name the folder as images.
- Add the two png images from the downloaded bootstrap files to the images folder.
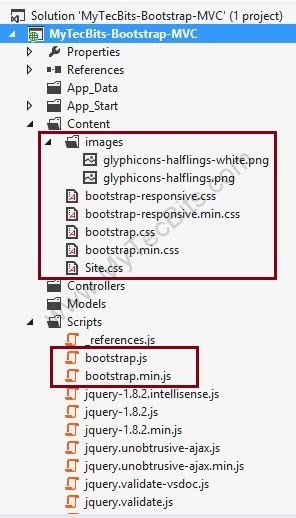
- Now the project’s folder structure and the bootstrap files looks like this:
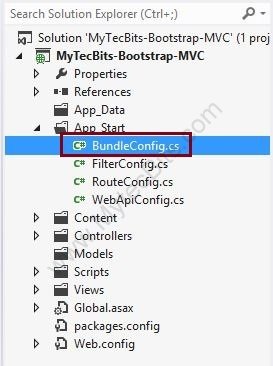
- Open the BundleConfig.cs file in App_Start folder.
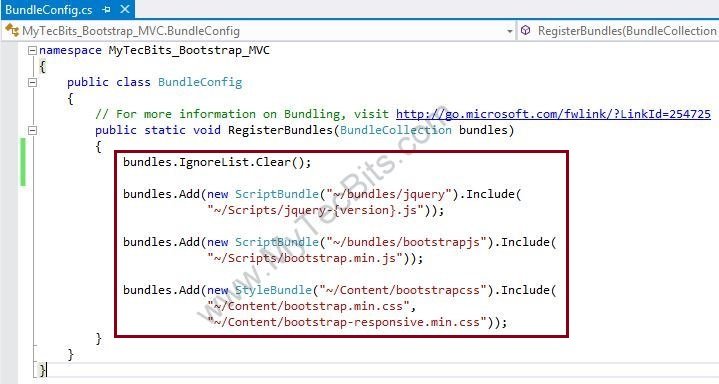
- In the BundleConfig.cs file, remove all the lines of code inside the RegisterBundlespublic static method.
- Add the below lines of code instead. The source code of the BundleConfig.cs file is available here.
- Open the _Layout.cshtml file in Views >> Shared folder.
- From the <head>….</head> section, remove the styles sheet and the script renders.
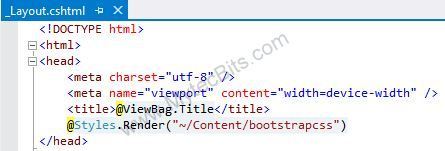
- Add Style Render for both the Bootstrap minimized style sheet (Styles.Render(“~/Content/bootstrapcss”) below the </title> tag.
- The head section looks like this:
- let us start working in the body section: Consider the user interface container has two parts.
(1) A responsive left menu panel.
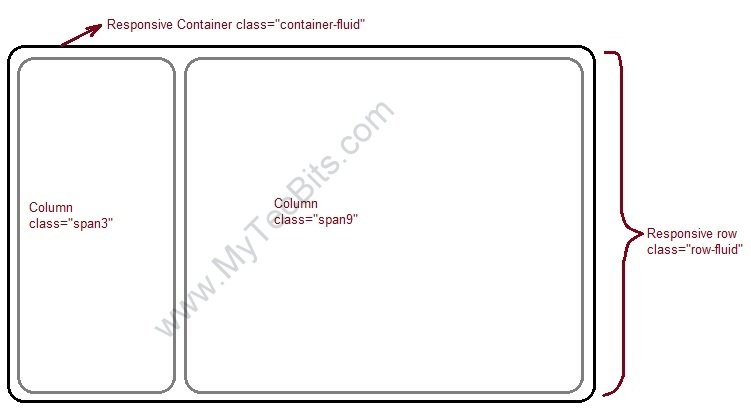
(2) And a responsive container to the right of the content. - This container can be achieved by creating a main container using <div>. Bootstrap by default sets the container as 12 spans. So the main container will have 12 sections. Then, in the main container, create two columns with <div>. One column uses 3 spans and the other spans for the remaining 9 spans. Below is the container layout you are going to create.
- First remove all the lines from the <body>….</body> section.
- In the body section, create a main container with <div> tag and class=”container-fluid”.
- Inside the main container, create a row with <div> and class=”row-fluid”.
- within the row, create the left-side column with <div> and class=”span3″.
- Below the span3 column, create another column with <dev> and class=”span9″.
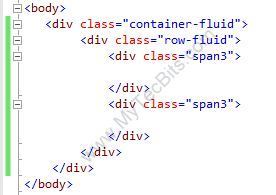
- Now the body section looks like this:
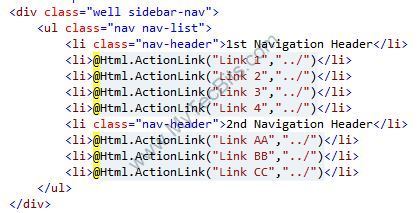
- Add the sidebar navigation code inside the span3 column div tags. The side bar navigation starts with a <div> section with class=”well sidebar-nav”. Inside the div, the navigation items are ordered with item list html tags (<ul> and <li>). <ul> tag will haveclass=”nav nav-list”. The <li> with the class=”nav-header” will have the navigation header. <li> without any class represents the navigation items. You can place the@Html.ActionLink in the <li> tags. Bellow is how the side navigation looks.
- Under the span9 column, you can add the @RenderSection and the @RenderBody() to render the content from the view.
- Below the main container and just above the closing of </body> tag, add the@Scripts.Render for jQuery and the bootstrap java script files. Make sure thebootstrap script renders at the last.
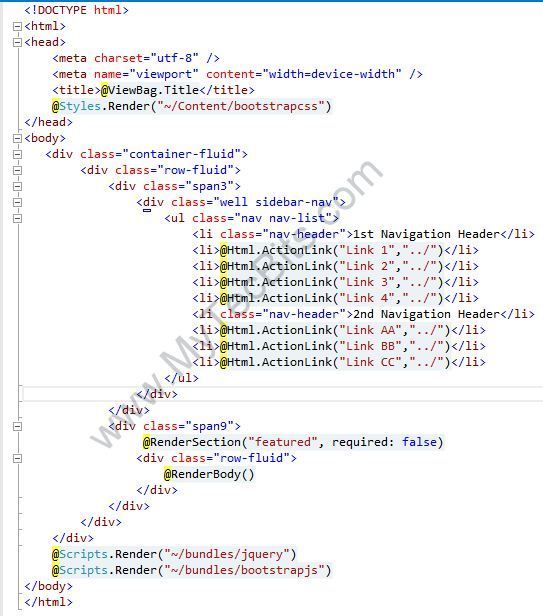
- After completing the changes to the layout file, the file _Layout.cshtml looks like this: (As I’ve mentioned at the beginning, the source code for this file is available here.)
- Now you have to create a view and a container, to test the layout you have created using the bootstrap.
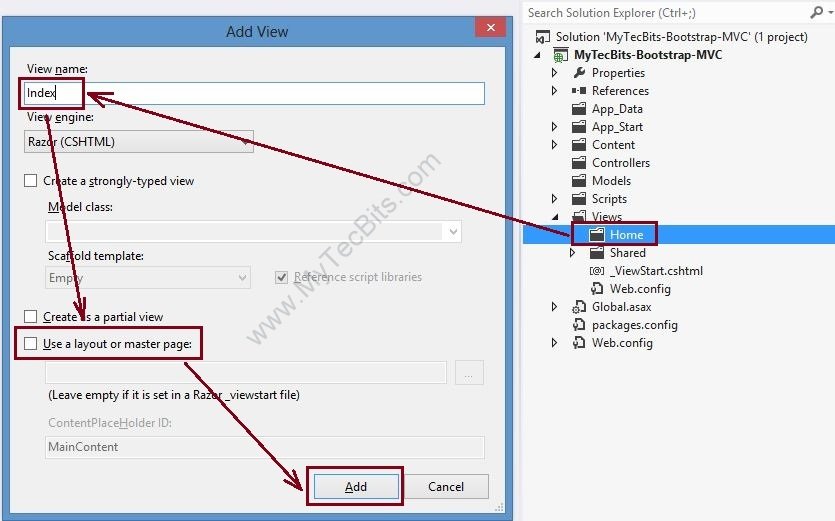
- For creating a View, Create a folder called Home underneath Views folder.
- Right-click the Home folder and add a new view called Index.
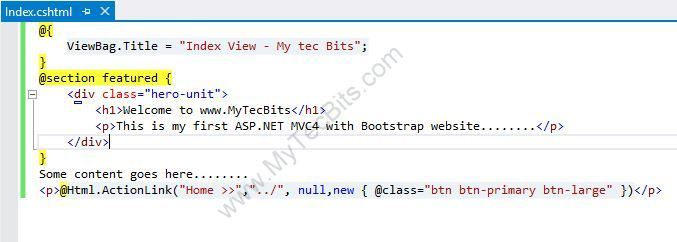
- In the Index view file, you can add a title, featured section and the content section. I’ve created the a sample as seen below. In the featured section, I’ve enclosed the content withdiv tag and set the class with bootstrap “hero-unit”. hero-unit presents the content with larger font. Then I’ve added an action link and made it appear like a large button using the bootstrap class “btn btn-primary btn-large”. The source code of the index view is available here.
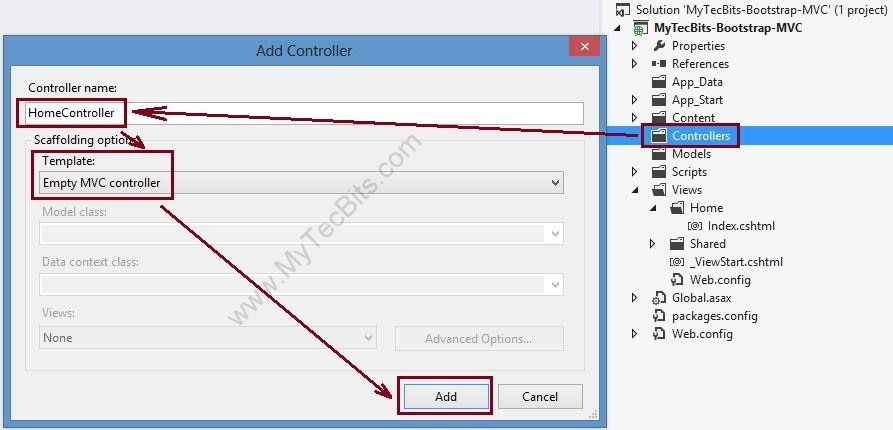
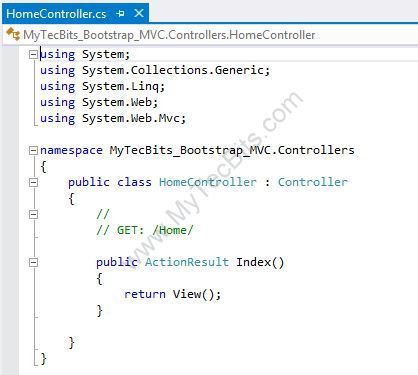
- Now create a controller for the Home folder in view. By default, the HomeContainer will have the code for Index ActionResult. So you don’t need to do any change in the container. Still, I’ve added the source code of the Home container here.
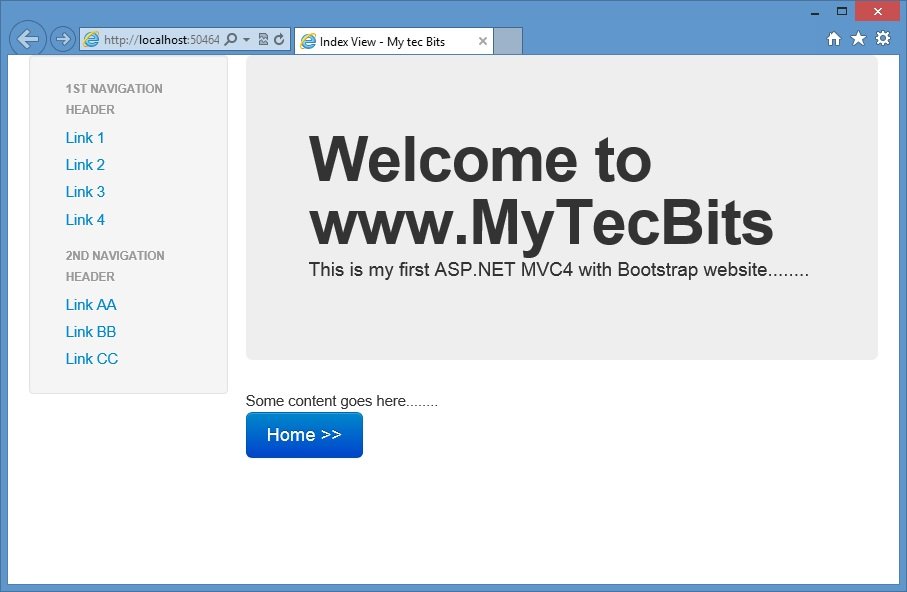
- Now build the MVC solution either by hitting the F5 key or by clicking the green build arrow at the Visual Studio tool bar. On successful build, the web page will be launched in the browser, similar to the one shown below.
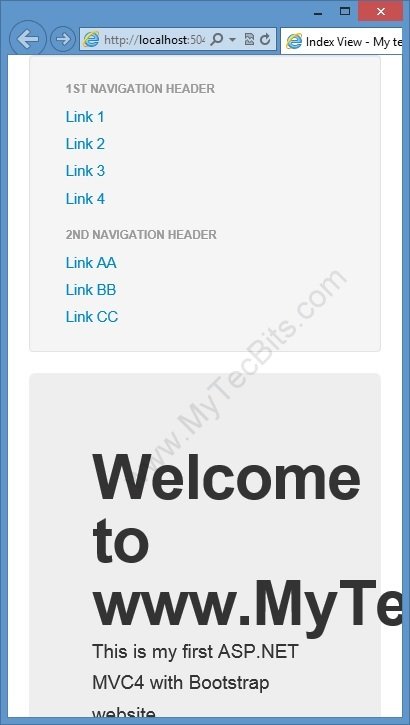
- You can change the size of the browser and see how the responsive design works.
- The source code for the files _Layout.cshtml, Index.cshtml and HomeContainer.cs are available in Bootstrap with ASP.NET MVC 4 – Sample Source Code.

If you are interested in using Bootstrap NuGet Package for MVC, then read the article Twitter Bootstrap with ASP.NET MVC 4.
See the article Twitter Bootstrap with ASP.NET Web Forms for step by step details on creating an AP.NET web forms website using Bootstrap as the user interface.
No comments:
Post a Comment